
OR
 key on the keyboard
- Click the "General" tab
- Click the button
OR
key on the keyboard

 on the keyboard) to avoid interference
 button in the active overlay for more precise construction, then reduce it to its original size with the
  button
 button in the series header
 (see Measurement Manipulations)
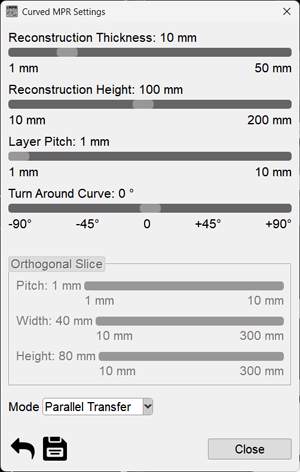
 - Restore default settings
 - Save settings
 - will save only the image of the active frame to a user series
 - will save an image of the entire screen to a user series
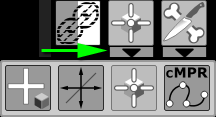
Click the "Exit Mode" item in the cMPR menu The screen layout will return to standard