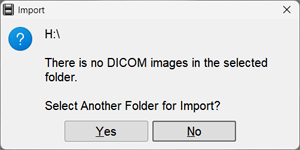
, then there is no disc in the CD/DVD drive
without inserting a disc into the drive
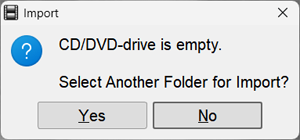
, then there is no disc in the CD/DVD drive
without inserting a disc into the drive
Option 2

- Open the Archive window
- Open File Explorer with the study folder
- Drag the study folder from File Explorer into the Archive window
Import from ZIP Archive

located in the same block as "Import from folder"
- Open the Archive window
- Open File Explorer with the zip file
- Drag the zip file from File Explorer into the Archive window
In all cases, File Explorer will open
Select the desired disk and folder on it; for a ZIP archive, select the file itself in the folder and click Select folder or Open for a ZIP archiveThe study loading will begin
During loading:- images will appear in the Preview Bar
- all import buttons will be inactive
- the import indicator
 will blink
will stop blinkingThe study will appear in the film strip and its images will be displayed on the screen
The program can be configured so that the study is immediately sent to the PACS archive