You can use video mode for automatic image scrolling or for
viewing video
The program's behavior depends on the source material: a set of scans or a film
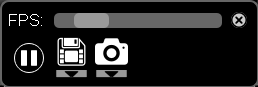
The images will start scrolling, and a control panel for automatic scrolling will appear on the screen:
Automatic Scrolling Panel
From left to right:
Top - slider for controlling the frame rate
Play / Pause button
Save to file button
Save to DICOM (user series) button
If the screen shows a multi-volume, you can enable the "Scroll volumes" function (left-click the empty checkbox next to the corresponding item)
Images in the multi-volume will scroll sequentially: image of the first volume - second volume, etc
The panel automatically hides after a short time
To call it back, simply move the mouse
Exit Automatic Image Scrolling Mode
Click on the toolbar or press the key
on the keyboard
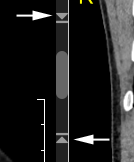
Viewing a Fragment of Automatic Scrolling
To view and/or save only a part of the images, use the sliders at the edges of the active series scrollbar:
Saving Results of Automatic Scrolling
TO FILE
Click the "Video - to file" button in the video panel
or - click the down arrow, and then, in the dropdown list, click the button:
A window will open...
In the case of "Video - to file"
Saving occurs in *.avi format, the filename is automatically assigned as the Patient's Last First Middle name and study date
Select a folder for saving
Click the Save button
In other cases
Saving occurs in *.jpg or *.png format, the folder name is automatically assigned as the Patient's Last First Middle name and study date
Select a drive or folder for saving
Click the Select Folder button
If you select a folder on the drive, the folder with saved images will be located inside the selected folder
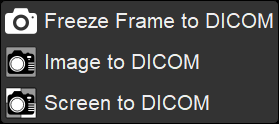
TO DICOM
Click the "Freeze frame - to DICOM" button in the video panel
or - click the down arrow, and then, in the dropdown list, click the button:
Saving occurs in DICOM format into a user series.
The user series is located at the end of the Preview Bar

 on the keyboard
 or press the key
 in the video panel
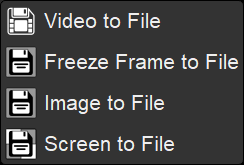
 in the video panel